3 Tips on Taking Better Photos For Social Media
Let’s be honest, social media has definitely increased the standard of what we consider a good picture. There are thousands of good-looking feeds, hundred of presets and almost everyone is trying to keep up with the trend.
But the real question is: How the heck do you keep up with this trend!?
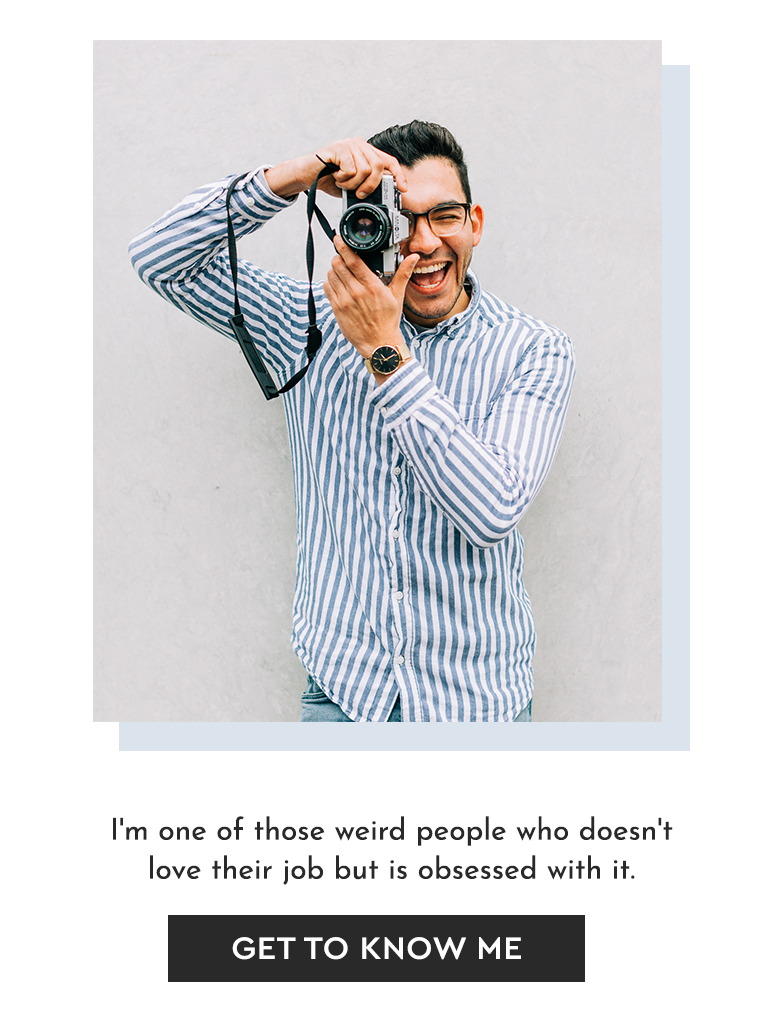
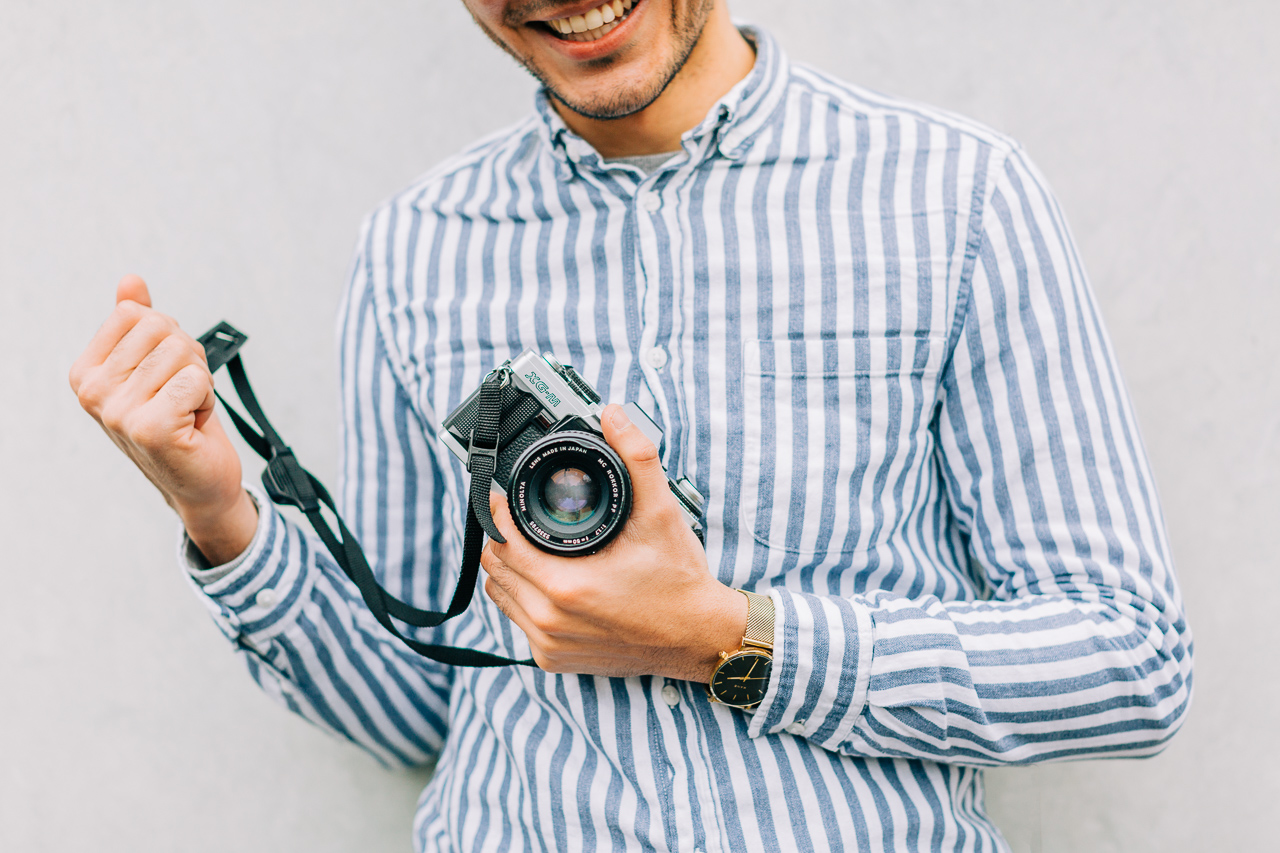
As a professional photographer, I understand the importance of having high-quality photos for social media, especially if you’re a personal brand and would like to show up consistently on your social media channels. Today, I’m sharing some tips on taking bomb’ ass photos so your feed can look good AF!
3 Tips on Taking Better Photos for Social Media
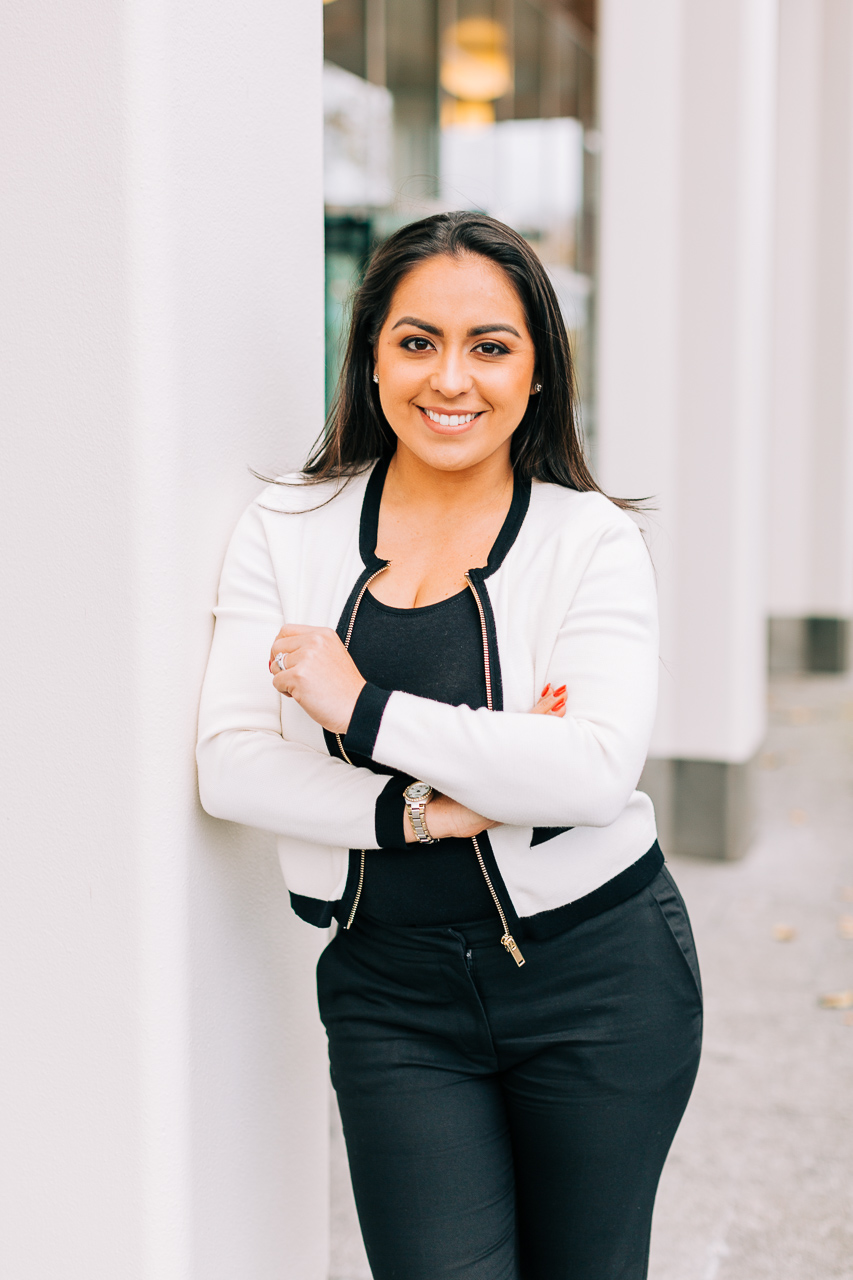
Good light is always better than a good background
When having to choose between a good background and good lighting, I’d always choose good lighting. What’s the point of having a great photo with an amazing background but the actual person in the photo is nowhere to be seen.
Instead, I want you to stand somewhere where the light is consistent on your face. Hence consistent lighting and not direct lighting. For example, when shooting outdoors make sure to stand in the shadows and look for, preferably white, objects that can bounce light on your face (i.e a white building, a white car, a white reflector). Or stand close to where the sun is hitting, while remaining in the shadows, and the light will bounce on your face.
Read more: How to Plan Your Personal Brand Photoshoot
Use the rule of thirds
In order to make your photos more interesting, you can use the rule of third and be creative with it. The rule of thirds is one of the most well-known composition principles and refers to a simple method of balancing your image. It divides an image into a 3×3 grid and aligns the subjects or objects in a photo along the grid lines to create balance.
For example, instead of taking the picture with the subject in the middle, move the subject to one side of the grid and balance it out with another subject on the opposite side. Personally, I like playing with negative space. Negative space is the area surrounding the main subject on a photo which is left completely blank. Basically, it is the space around the object itself that helps define the positive space (or main focus).
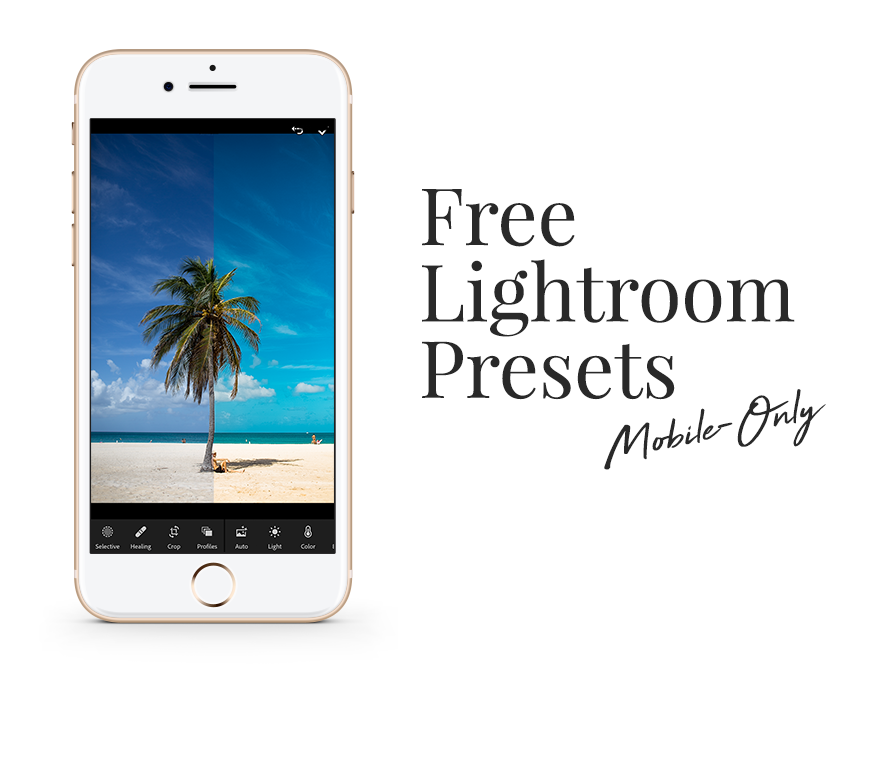
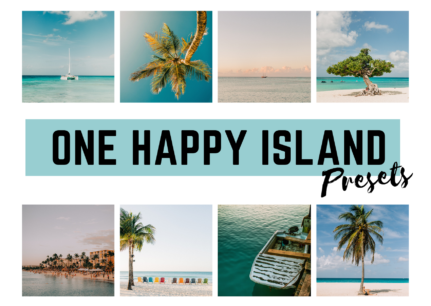
Use Lightroom presets
Let’s be honest, if professionals photographer use presets to edit their photos, so can you. Personally, presets saves me time, helps my feed remain consistent and help me save a mediocre photo for social media. I love to edit my mobile photos on the free Lightroom Mobile App with my One Happy Island presets. My presets are inspired by the vibrant colours of Aruba. Download one for FREE preset right here.